What is Linkwarden?
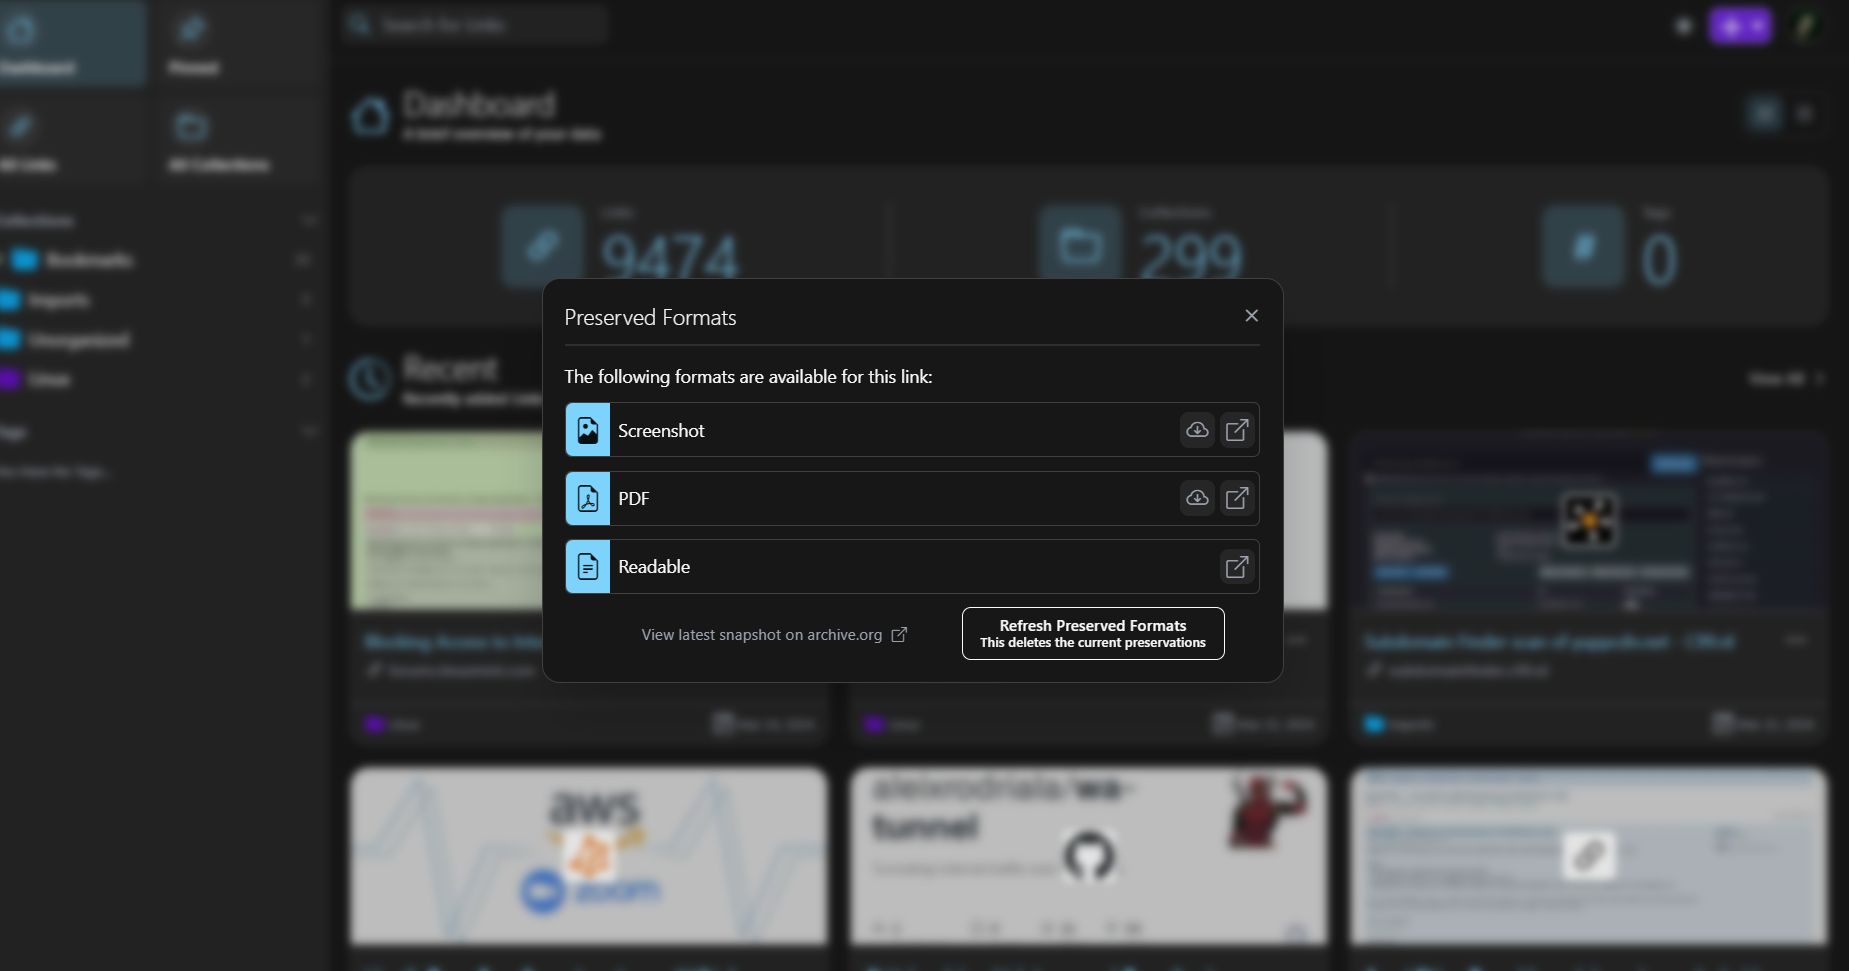
Linkwarden is a selfhostable, open-source bookmark manager to collect, organize and preserve webpages. One of the nicest things about this bookmark manager is the aforementioned local preservation.
it means that you can set it to capture a screenshot, PDF, and a readable view of each webpage you bookmark, allowing you to see them even when a webpage is no longer available online (this happens more often than you think!). Visit Linkwarden’s Github page to see the full list of features.
Setting up Backblaze
Backblaze B2 is a cloud storage provider with Amazon’s S3 compatibility. It is one of the cheapest, yet reliable S3 providers out there. Backblaze comes in handy if you are hosting Linkwarden on a VPS where storage is limited. Atleast that’s my usecase for it. If you don’t have a Backblaze account, you can signup for one and it will give you 5GB free storage out of the box.
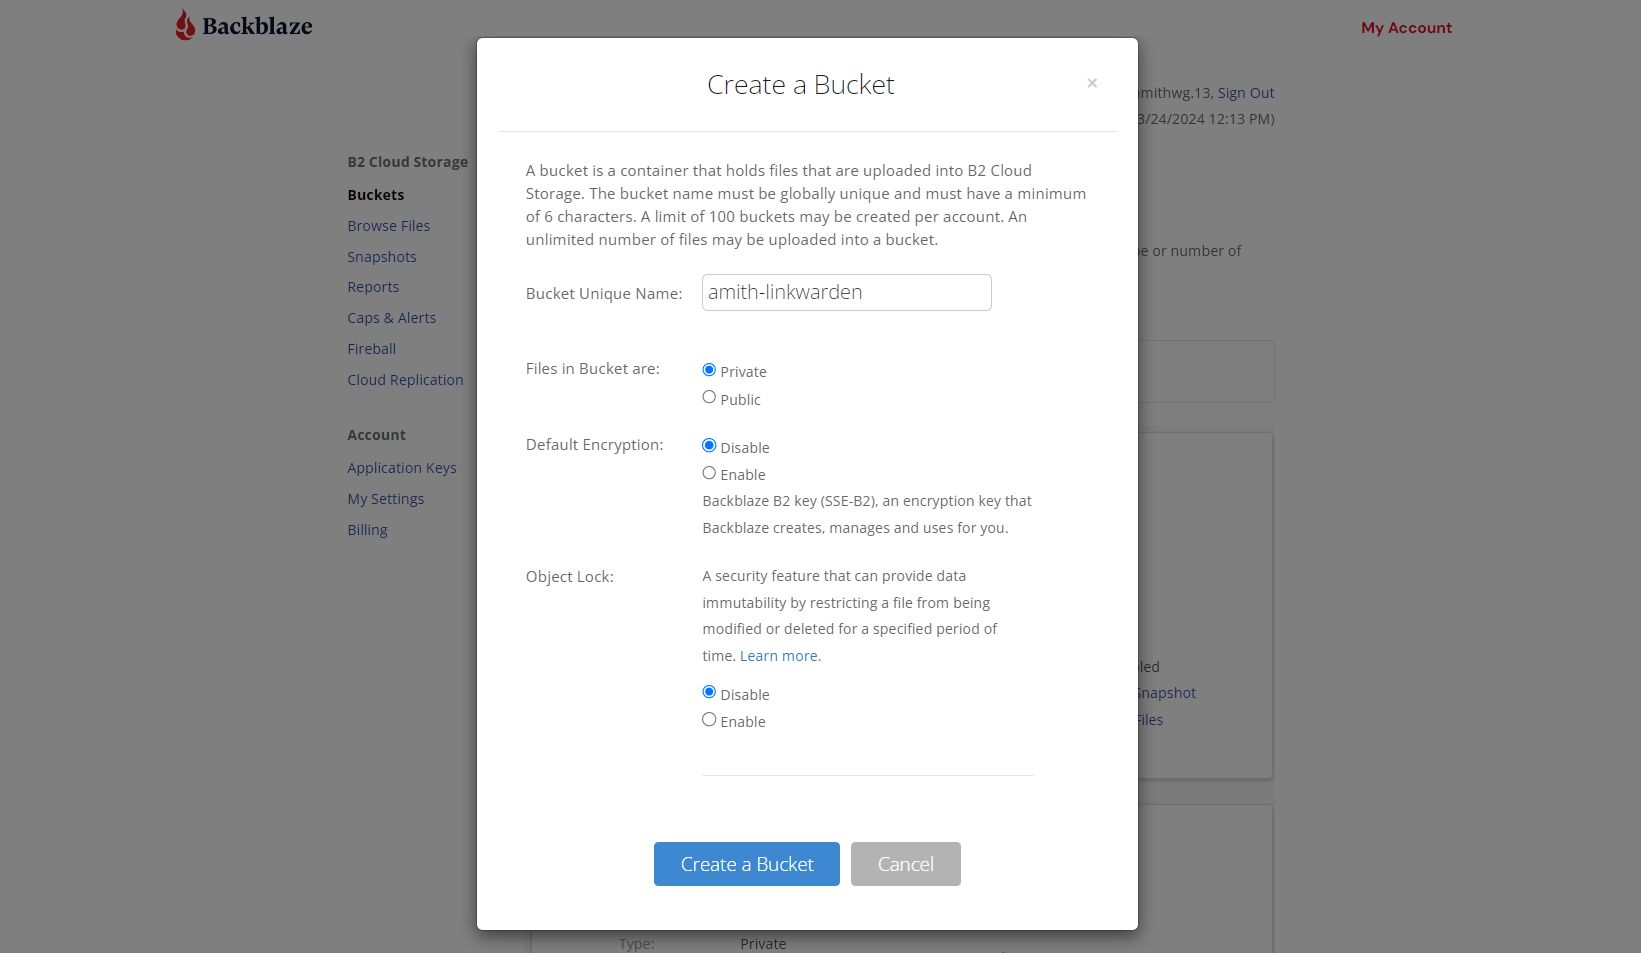
First, we need to create a new bucket by going to Bucket > Create a Bucket. Give it a unique name like amith-linkwarden.
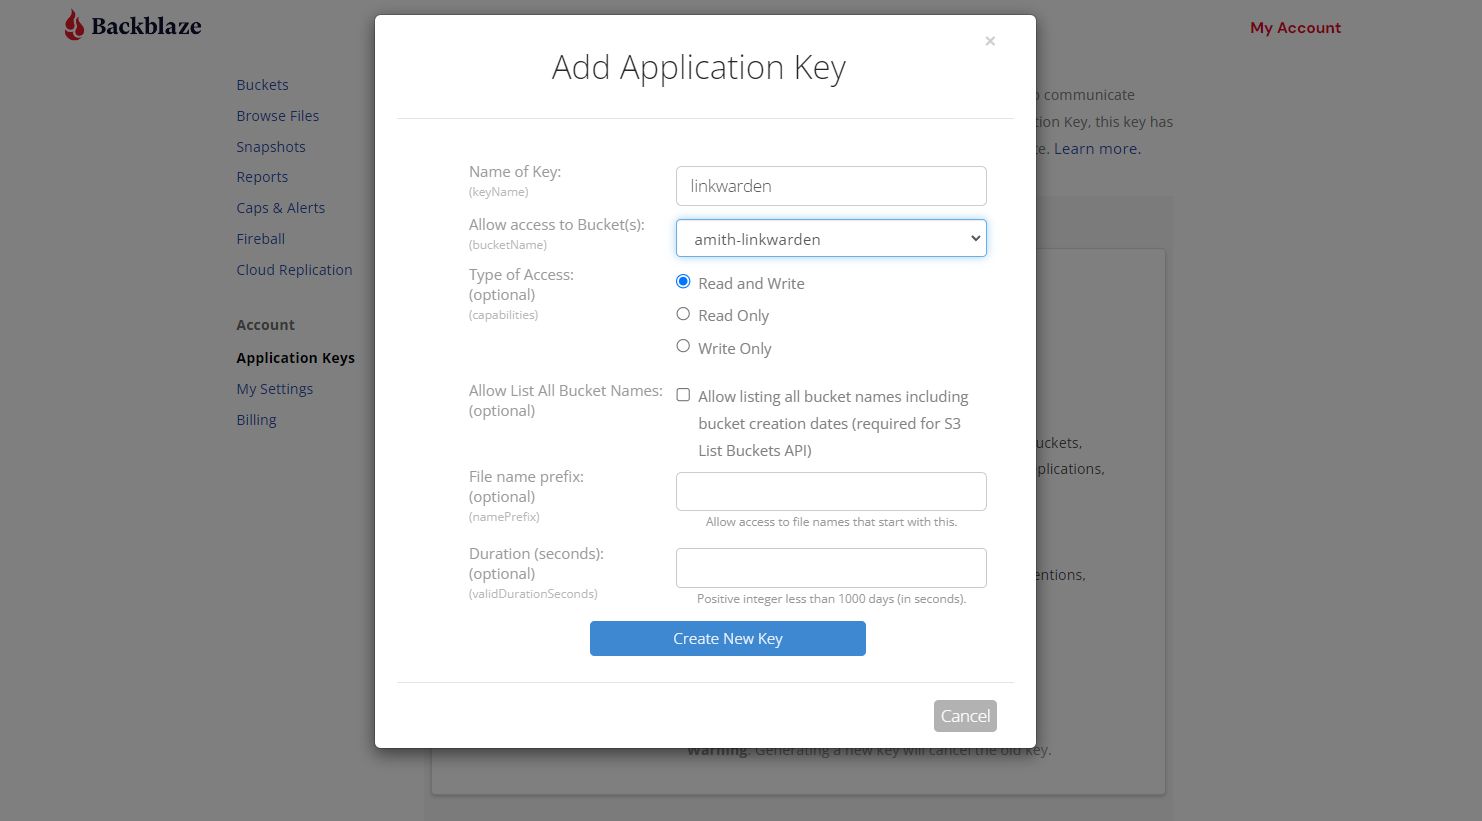
Let’s create an application key for this bucket. This will allow us to access our bucket securely with limited access & scope. You can create one by going to Application Keys > Add a New Application Key under Account section. Under Allow access to Bucket(s) , make sure to select our newly created bucket so that this key has access only for that bucket.
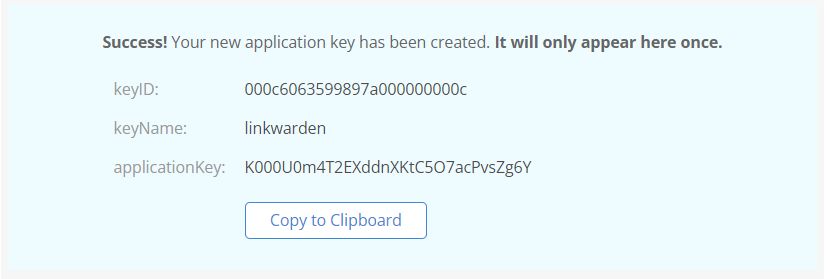
After creating the application key, make sure to copy down the values of keyID & applicationKey.
Installing Linkwarden with Docker
We will be using Docker to install Linkwarden since it’s more easier & convenient compared to the manual installation method. Docker makes your life so much easier 😄
Let’s follow along the official Linkwarden installation documentation with minor changes (we will be adding our backblaze b2 bucket details to the config later).
Requirements:
- Docker
- Git
- A reverese proxy solution like Caddy to access your Linkwarden via a domain name (optional)
1. Clone the Linkwarden repository
$ git clone https://github.com/linkwarden/linkwarden.git
$ cd linkwarden
2. Configure the Environment Variables
Inside the /linkwarden folder, create a file named .env, open it and paste the following text inside it:
NEXTAUTH_SECRET=VERY_SENSITIVE_SECRET
NEXTAUTH_URL=http://localhost:3000/api/v1/auth
POSTGRES_PASSWORD=YOUR_POSTGRES_PASSWORD
The only thing you MUST change here is YOUR_POSTGRES_PASSWORD and VERY_SENSITIVE_SECRET, they both should be different secret phrases.
The NEXTAUTH_URL should be changed to your domain name only if you are hosting it somewhere else, i.e. on a VPS.
I changed the value of NEXTAUTH_URL to https://linkwarden.amithwg.me/api/v1/auth since that’s where I access my Linkwarden instance from (aforementioned reverse proxy solution needed).
3. Add Backblaze B2 bucket details to the .env
It’s time to add details from our earlier created b2 bucket & application key to the .env file.
# AWS S3 Settings
SPACES_KEY=keyID
SPACES_SECRET=applicationKey
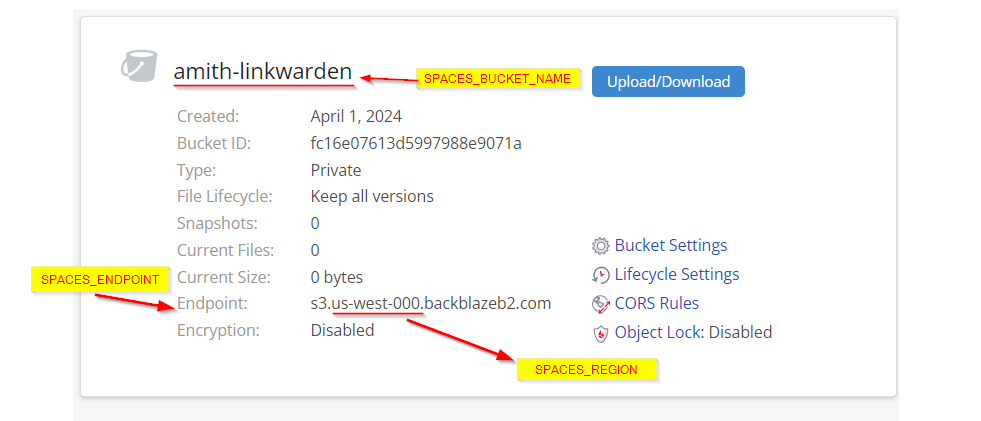
SPACES_ENDPOINT=https://s3.us-west-000.backblazeb2.com
SPACES_BUCKET_NAME=amith-linkwarden
SPACES_REGION=us-west-000
SPACES_FORCE_PATH_STYLE=
For SPACES_KEY & SPACES_SECRET, we need to add values from our Application Key:
keyID should look like 000c6*********************
applicationKey should look like K000***************************
For SPACES_ENDPOINT, SPACES_BUCKET_NAME & SPACES_REGION, we can get the releavent detals by going to the Buckets section. The filled values are for my pirticular bucket: amith-linkwarden, your details may vary.
4. Run it!
In the main folder (where you create the .env file) simply run the following:
$ docker compose up
After a few minutes (depending on your internet connection) you can access Linkwarden via http://localhost:3000 (or whichever hostname you deployed Linkwarden on).
Enjoy!
(If you are curious, this is how my docker-compose.yml file looks like:)
version: "3.5"
services:
  postgres:
    image: postgres:16-alpine
    container_name: linkwarden-db
    env_file: .env
    restart: always
    volumes:
      - ./pgdata:/var/lib/postgresql/data
  linkwarden:
    env_file: .env
    container_name: linkwarden
    environment:
      - DATABASE_URL=postgresql://postgres:${POSTGRES_PASSWORD}@postgres:5432/postgres
    restart: always
    # build: . # uncomment this line to build from source
    image: ghcr.io/linkwarden/linkwarden:latest # comment this line to build from source
#    ports:
#      - 3000:3000
    volumes:
      - ./data:/data/data
    depends_on:
      - postgres
networks:
  default:
    external:
      name: caddy
Conclusion
That’s it! You have successfully configured your Linkwarden instance to use a Backblaze B2 bucket as storage. I am glad I went through this route, as currently my bucket storage is peaking around 9GB (9000+ bookmarks), and I would have definitely run out of storage on my tiny VPS if I hadn’t configured Backblaze for storage. 😄
Hope you find this blog post useful. Thanks!
